You can install MailChimp for WordPress like you would install any other WordPress plugin. To use the plugin, all you need is a MailChimp account and a WordPress site.
- In your WordPress admin panel, go to Plugins > New Plugin, search for MailChimp for WordPress and click "Install now" from the search results page.
- Alternatively, download the plugin from WordPress.org manually and upload the contents of mailchimp-for-wp.zip to your plugin’s directory.
- Activate the plugin
Connecting with your MailChimp account
To use the MailChimp for WordPress plugin, you will first need to connect the plugin with your MailChimp account.
Get your MailChimp API key
Log into your MailChimp account and then use this link : https://login.mailchimp.com/?referrer=%2Faccount%2Fapi%2F to get your MailChimp API key (or go to Account > Extras > API Keys).
Configure the plugin
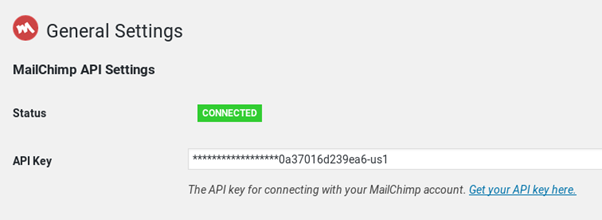
To let the plugin, know which API key to use, go to MailChimp for WP > MailChimp in your WordPress admin area to fill out your API key.
Creating your first form
After you have installed MailChimp for WordPress it is time to set up your first form. Don't worry, creating your first sign-up form should be relatively easy.
Requirement: set up an audience in Mailchimp
If you haven't already, go to your MailChimp Dashboard and set up a new MailChimp audience. When doing so, think about the different fields your list will need.
MailChimp offers the possibility of using different field types. Simply put, these types tell MailChimp and our plugin what sort of data to expect. That way we can check if the input your potential subscriber is trying to pass along corresponds with the data you would like to receive. Using correct field types will decrease the chance of errors, so it's good to give it some thought!
If you have set up a new list after installing the MailChimp for WordPress plugin, you will need to refresh the plugin's saved data (or cache) for changes to show up in your website.
Create your first form
Once you have your list ready, it's time to set up your first form! This part should be a breeze; you've already done the hard bit.
Within your website, please go here:
MailChimp for WP > Forms
Free users: You should be taken to the 'Edit form' page straight away.
Premium users: you will need to make a new form by clicking the 'Create New Form' button atop the Sign-up Forms list.
Edit your form
You will see the Edit form page with its editor; a basic form has already been made for you, based on the default list fields in MailChimp. It is now up to you to edit that form to your liking.

You can craft the HTML for your fields yourself or use one of the available field buttons to have the plugin generate it all for you. This field helper will ensure that the generated HTML matches the expected format so that data ends up in MailChimp correctly.
Getting your form live
We provide a short code that makes it super easy for you to put the form you have just created anywhere you'd like. It will look something like this:
[mc4wp_form id="123"]


